Resources Available
Is it time to assemble Subfloor?
Follow these buttons for more info:
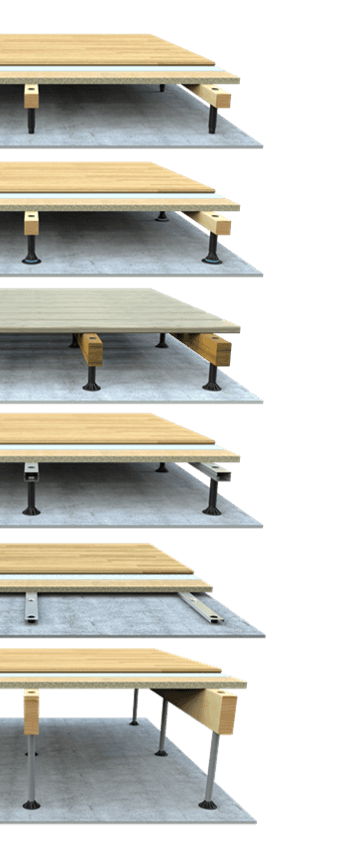
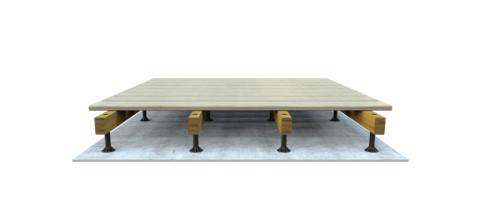
By using SubFloor raised access floor you get your floor as level and high as you want. The void formed underneath is a perfect space for insulation and installations. Our simple and clever SubFloor solution uses floor joists that are supported with adjustable screws to give the exact height desired and eliminate any unevenness and level differences found in the floor. On top of the joists, a floorboard is fixed and then any floor covering of your choosing. We have put a lot of effort into producing a durable composite material for the screws, which means that SubFloor can withstand high loads.
As well as our wide range of SubFloor systems we have an extensive array of supporting documents and certifications to help you design, specify and install SubFloor.
Sometimes to get just the right answers you need to talk to someone. Our experts are always available by phone or email if you have any technical queries.
Several of the benefits of using SubFloor:
- Creates beautifully level floors
- Creates space for installations and a natural ventilation space
- Quick, quiet and clean installation
- Freedom of choice between different floor materials
Choose attachment method:
Which method suits you best depends on the quality of the substrate and the size of the floor area to be regulated. Glueing and shooting with steel nails provides quick and convenient assembly work.
Top 3 Asked Questions
Subfloor is a raised flooring system with sound and practical solutions for ventilation, installations, acoustic and outdoor environments.
The acoustic flooring reduces impact sound by up to 28 dB.
General Questions
Both the 45 mm and 70 mm joists are slow grown pine from Northern Sweden. Timber grade C24 with a moisture class 12. This means that the wood has fewer/smaller knots so it can carry a higher point load and the low moisture content creates a stable form. Both the 45 and 70 mm wooden joists are of the same quality.
Follow the link to see the load documentation. However, there is never a point load on a single screw as the force is spread out across the floor.
Yes, very easily. The space left by the raised floor leaves a natural gap for insulation.
When you do not want the insulation to touch the base our SubFloor insulation bearers hang onto the Subfloor joists and are available at varying heights.
No, as anything can be placed on top.
Have a look at our fire safety document:
SubFloor is treated the same as the base/floor covering in that it is not fire-resistant but should be within the fire boundary and so has not been an issue with fire safety. To delay fires the correct seals and cavity barriers should be used to meet regulations.
Damp floors should be mechanically ventilated to achieve a good indoor climate in the long term. In cases where you do not ventilate damp floors, contractors sometimes place a construction plastic on the floor and on the plastic they mount SubFloor. Get in contact for information about SubFloor's ventilation system.
Assembly Questions
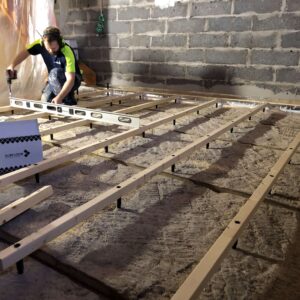
Look at our assembly video and step by step guide:
Fast. This is how you assemble Subfloor.
We recommend an MS Polymer-based construction glue/adhesive with a high load capacity. This means that the glue is suitable for indoor and outdoor use but also remains flexible and is resistant to water, saltwater and grease.
Many contractors use different adhesives from brands such as Permabond, Loctite and Everbuild.
If SubFloor is parrallel with the internal walls the joists should go directly underneath. If perpendicular then internal walls can be placed as normal.
For more information check out our Step-by-Step Assembly Guide.
Yes, you just have to adjust the joist attachment to the floor.
You do not need to anchor toilets to the substrate as the SubFloor system is all attached together. Build a frame around the drainpipe with the joists. The toilet is then mounted through the chipboard onto the Subfloor joist frame.
Where can SubFloor be used?
Terrace / Outdoor Decking
Office
Sport / Activity Floor
Public Spaces
Apartments
Villa / Town House
The SubFloor Systems:


